
Soil, Stones, Pavers & More
In No Mess Bulk Bags

It is that time of year once again, when the central parks are flooded with lanterns and the city is brought to life by the amber hue that they emit; yes, it is the Chinese New Year once again. Understandably, getting into and out of the city to view the lanterns can be a mission on its own and so we decided that we would simply make our own! These lanterns take a bit of time to make, but are aesthetically amazing and provide a beautiful glow of light in your garden on those warm summer evenings. Paired with any of our beautiful stones from our Alpstone range, you can really give your garden a much needed pop of life and spend more of your summer evenings relaxing out in the garden!
Time to create: 1.5 Hours Roughly.
A perfect family-friendly project. Get the kids and grandparents involved to make different lanterns and make the garden a true family-based project!
Objects Required:
This project is best performed when you have a few hours to spare or as a DIY over a few days - rainy days also help!
Please ensure safety measures are taken when using these lanterns outdoors, with care taken around all electrical devices. Do not use an open flame as these lanterns are highly flammable.
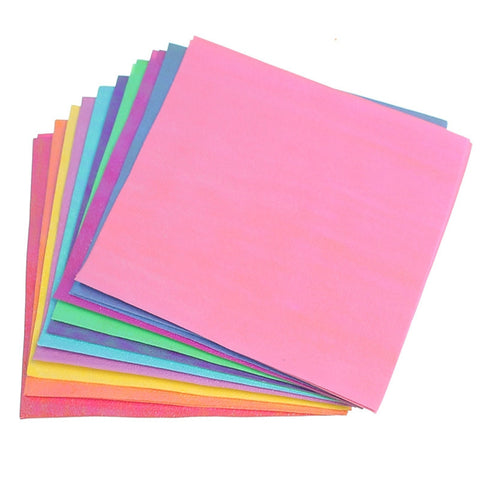
The creation of these lanterns requires squares of paper, so taking the marker, ruler, and your sheets of A4 Paper, simply rule a neat square onto the paper and cut it out. For your ease of mind, a square is typically 14.9cm by 14.9cm - however this is open to your interpretation! Just keep in mind that the smaller you make the squares, the more of these you will have to make!
Tip: If you’re using a large paper lantern, you’re going to need about 90 squares of paper. Simply separate into halves, 45 sheets of paper and you can easily get your 90 squares. Box cutters are sharp and can cut through multiple leaves of paper at a time - a good thing to take advantage of!
Less intimidating than it sounds, these origami stars will go on the outside of your paper lantern and will give it a pop of life, that helps disperse the light and create different shapes as it glows.
Complete the following steps for each square of paper: (This is a good opportunity to put on some good music, or a movie in the background!)
The final part is slightly trickier, as it requires a bit of folding, however follow these steps for completion:
Now you can release and let it unfold naturally into a star that should look like this:

For the final step, you’ll want to take the paper lantern that you have set up, and sporadically stick the stars onto it with glue, however you see fit. Once they have all been applied and dried, you’ll be left with a floating ball of stars!
Note: When you are gluing the stars, only glue the four pronounced inner corners - not all the edges will touch the lantern. If you do not understand what this means, try holding one of the stars against the lantern and see where exactly they are touching together. These are the points that you will want to glue!
It should look something like this:

This is my personal favourite when it comes to the design of these lanterns. This option allows for much more exposure from the lights, but also different degrees of it. The filtration of light through the paper stars softens it, whilst the holes exposed by the wire frame given it a sharpness, that when brought together mallow out marvellously.
Required Objects:
A more “vibrant” option is to create your own lantern and then apply the origami stars to it. Follow the steps beneath for creation.
String the lanterns onto some garden string and loop in between your trees in the garden, or alternatively using a garden spike, place them sporadically in the ground through your yard.
To complete the aesthetics of the lanterns, a black mulch or one of our beautiful decorative Alpstones complements it perfectly by providing a vibrant pop of colour, contrast and life to the yard!
Leave a comment